Our Monthly Tip: Create Handmade Invitations for Your Loved One’s Memorial
Our Tip of the Month
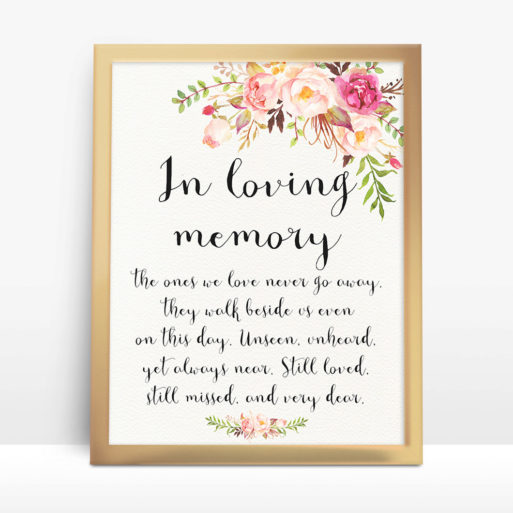
If you’re planning a memorial service or celebration of life, you can add a personal touch to the invitations in a number of ways. If you use a professional printer, you can generally choose from a wide array of templates and add any photograph of your loved one you choose. But it’s also possible (and quite fun) to make the invitations yourself. All it takes is a home printer and a few supplies from your local craft store to make beautiful, personalized memorial invitations that your guests will love.
Credit: mzmyat.com
How-to Suggestion
You probably already have some idea of the kind of memorial invitations you’d like to create. If not, look online at the websites of some professional printers for ideas. Did your loved one love gardening? Sailing? A day at the beach? Think about what they would like an invitation to a celebration of their life to portray.
Next, choose a template from your word processing software (for example, Microsoft Word) to create the text for the card. If you prefer to hand write the text, you can skip this step.
Once you have a design for your invitations in mind, go to a local craft store and explore. Don’t worry if you’re not an artist. Stores like Michaels and Joann carry dozens of stencils, including stencils for lettering of all types and all sorts of lovely designs. Pick the ones you like, and then move on to the paper aisle. Choose heavyweight paper in a neutral color. Most craft stores carry large sheets (which you will need to cut at home) and smaller ones that are already cut to size. For practical reasons, pre-cut stock is usually best.

Credit: pinterest.com
To decorate the invitations, you’ll need ink applicators and a selection of inks. (You can also use stencil paint, but ink is easier to handle and makes less of a mess.) Choose the colors you like, then go home and practice your technique. Secure the stencils to a sheet of inexpensive paper with painter’s tape, and then dab the ink on the stencils starting at the outside edges and working in. (This short video demonstrates the technique.) Once you feel comfortable with your stenciling expertise, you can start creating the cards.
Before decorating your memorial invitations, craft the text that you want to include and add it to the word processing template you’ve selected for the card. Print the invitations, and then start stenciling any additional text and designs.
When you’re all done stenciling, fine tune the invitations by adding some dried flowers, pieces of string, or any additional decorations you like. If you want to add a photo of your loved one to the cards, just print it on photo paper and attach the photo to the card with glue.


 Final Messages of the Dying
 Will I Die in Pain?