Our Monthly Tip: Make a Biodegradable Ice Urn
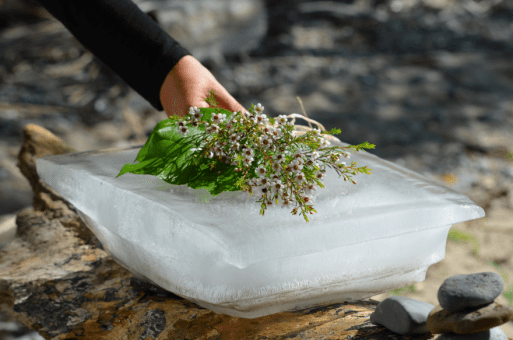
The idea of an ice urn containing the cremation ashes of a loved one is an almost magical DIY way to ecologically scatter cremation ashes.
Credit: Core77 Design Awards 2016
Our Tip of the Month
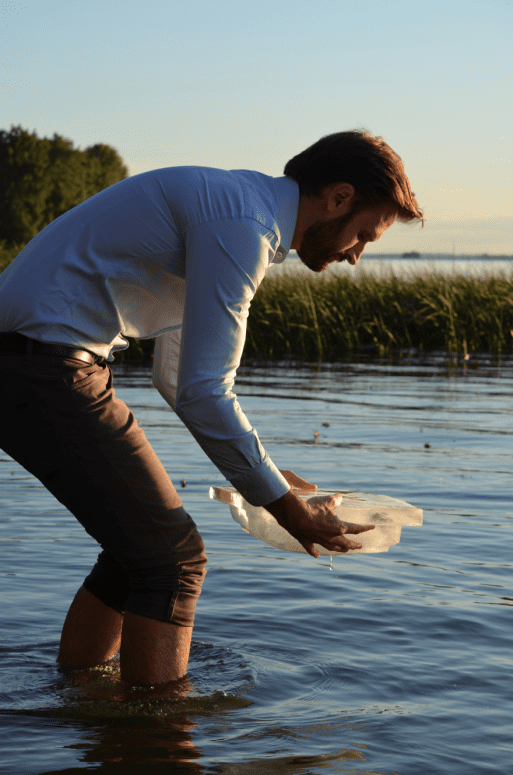
DIY ice urns offer a unique and eco-friendly twist on a time-honored tradition: scattering ashes in a body of water. With the ashes frozen inside, the urn floats peacefully across the surface of the water, and the ashes are gradually released as the urn melts. This prevents the ashes from flying away in the wind and provides a stunning and poetic visual as the urn floats away, reminiscent of a Viking burial.
Diane Leclair Bisson designed a rectangular ice urn for easy handling.
Credit: Core77 Design Awards 2016
How-To Suggestions
The concept of an ice urn was originally developed by designer Diane Leclair Bisson for a funeral home in Montreal. Bisson’s DIY design features a rectangular block of ice that the ashes are poured into, which is then topped with another slab of ice.
However, any container that can safely be put in the freezer (glass is not recommended) can serve as a form, as long as the opening is large enough to slide the ice urn out of once it’s frozen. For instance, a Bundt cake pan or gelatin mold can create a unique and beautiful shape for your urn — just remember that anything with smooth sides may be difficult to handle, so you will likely have to carry it into the water on a platform or cloth.
To make space inside the urn for the ashes, place a smaller container inside your chosen form (you may have to weigh the smaller container down so it doesn’t float) before filling it with water. Once the whole thing is frozen, you can pull the smaller container out of the ice. This will leave an opening to pour the ashes into.
The final step is sealing the DIY ice urn, which can be done by freezing a separate slab of ice to lay on top. To join the two pieces, set the top piece on the urn and let them both thaw slightly before putting the whole thing back in the freezer. You can also pour a little water on the urn’s edges before setting the top piece down, which will help bind the two together as it freezes. Handle the urn carefully and make sure the two pieces are completely joined before holding the urn by its top piece.
Flowers freeze beautifully in an ice urn that will then float the cremation ashes out
on an ocean, lake or a pond.
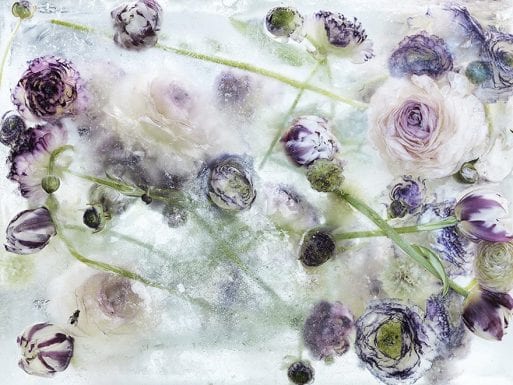
The ice itself provides a beautiful, natural aesthetic, but flowers (fresh or dried) can be a lovely and biodegradable addition — you can add them to the water as it freezes, or lay them on top of the urn before releasing it into the water.


 How Dare You Die Now!
 Debating Medical Aid in Dying
 “Help Me, Helen”