Our Monthly Tip: Create Your Own Death Shroud to Prepare for Your Final Rest
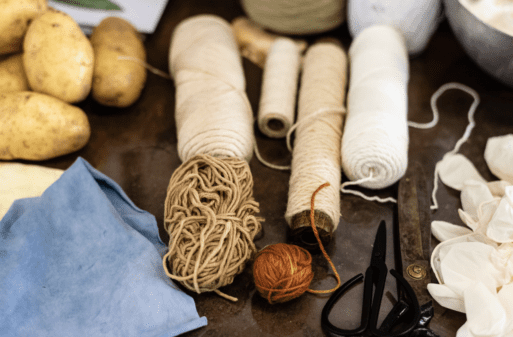
Supplies for constructing a death shroud
Photo Credit: Filippo Giuseppe Iannone
Our Monthly Tip:
Last month, Seven Ponds interviewed sustainable funeral director Susanne Duijvestein, who has been teaching small groups how to lovingly create their own death shrouds. Drawing on centuries old traditions, Susanne invites people of all ages to engage with death in an artistic way. By welcoming their future death, participants can better prepare their hearts, minds and burial materials.
Creating your own death shroud can be a communal activity or one you undertake solo. The act can be as artistic as you feel comfortable with, and you don’t have to complete the entire piece in one sitting. Susanne offers some requirements that all death shrouds must adhere to, but there is a lot of room for creativity and individualism in this process.
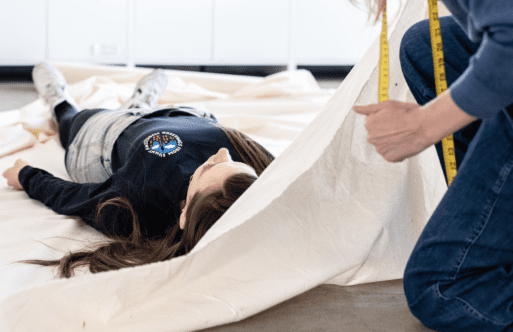
Susanne demonstrates how to wrap a death shroud at Mediamatic.
Photo Credit: Filippo Giuseppe Iannone
How-To Suggestions:
Materials Needed
- Natural fabric (such as linen, amount explained below)
- Natural twine or thread
- Natural paint or dye
- Items for distributing paint (such as brushes or potatoes to make stamps)
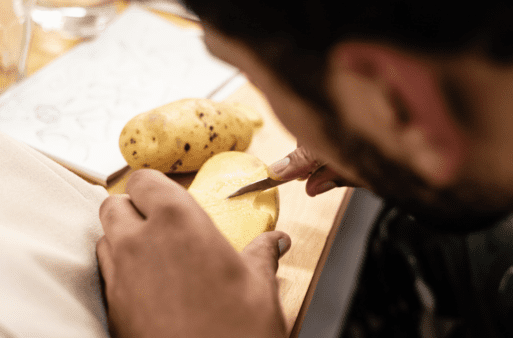
Creating a stamp out of a potato
Photo Credit: Filippo Giuseppe Iannone
Often, a death shroud is something the body is laid on and covered with, so the length needs to be at least one and a half times the height of the body and about 6 feet wide. This size should fit the average person, but of course, you can customize it to your own body shape. The fabric for the shroud needs to be made of 100% natural fibers, such as linen, wool or cotton. In addition, any threading or special stitching of your shroud must also be of 100% natural thread.
The creation of the shroud comes in the decorating of the fabric. Susanne invites her groups to create their own stamps with items such as potatoes. By using a small knife, you can cut out any design, which can be used in repetition to make a pattern.
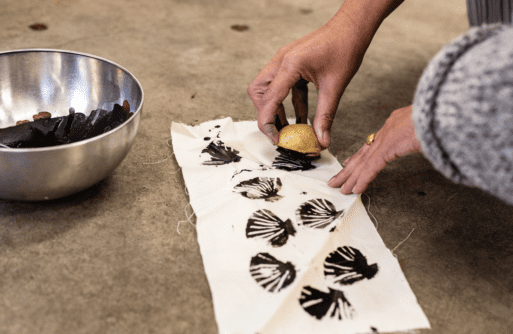
Using a potato stamp to make a painted pattern on fabric
Photo Credit: Filippo Giuseppe Iannone
You may also choose to use a more traditional tool, such as a paintbrush, to create your design. Susanne suggests using natural paints and dyes. Natural dyes can be produced by boiling fruits, vegetables, flowers, or even spices.
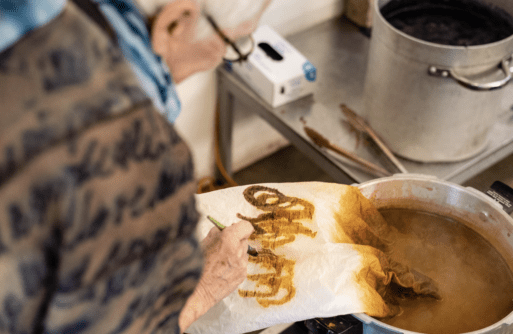
Photo Credit: Filippo Giuseppe Iannone
Once you’ve decided on a design and color scheme, it’s time to let your creativity flow. You may want to play your favorite music, enjoy a cup or tea, or even paint your shroud while you’re outside.
This death shroud should be an expression of you, of your personality. You can feel free to decorate it in any way you wish. Susanne hesitates to offer ideas to participants as she wants to protect everyone’s own imagination and not limit anyone’s design.
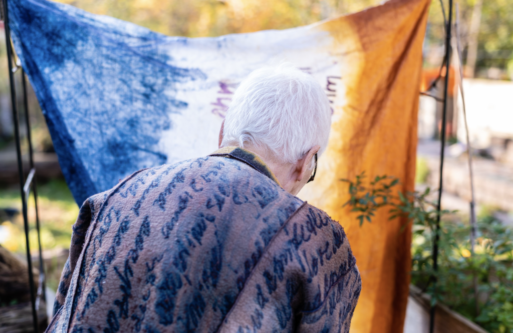
A participant allows her shroud to dry in the sun.
Photo Credit: Filippo Giuseppe Iannone
Susanne suggests that people use their death shrouds in their everyday life, which adds a beautiful aspect to the burial garment. Perhaps you can use it as a wall hanging, bed cover, or tablecloth. Any stains that may occur on the shroud only add to its “lived-in” quality, which will make it more personal when you are one day wrapped in it. If the design you create is not for everyday use, Susanne says you may want to place the shroud in a lovely box, so that each time you open the closet, you see the box and it becomes a memento mori.

Susanne Duijvestein of Bij Afscheid


 Who Cares for the Caregivers?
 Final Messages of the Dying